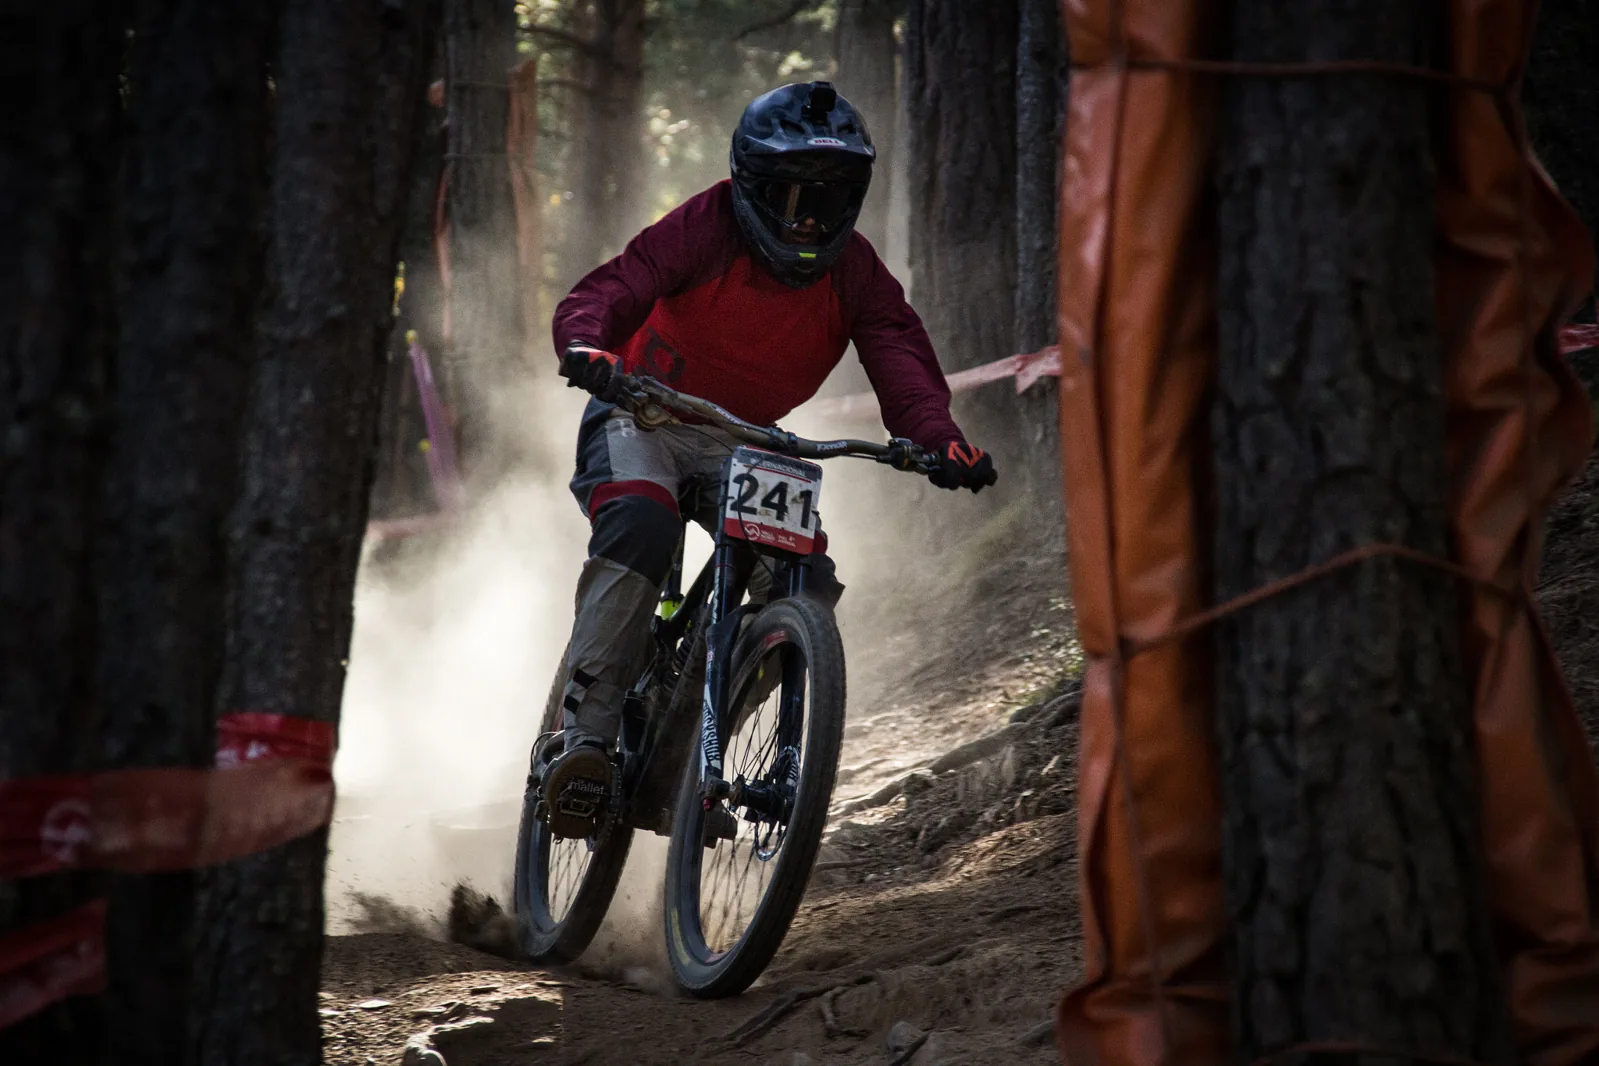
Choose the bike for the day
Riding permitted dirt roads, tackling an enduro route and descending in a bike park place different demands on both rider and bicycle. Establish the surface, whether you climb by pedalling or lift, the technical difficulty and options for an early return. Pal Arinsal contains several disciplines, so the park’s name alone does not identify the right equipment. The photograph from the Vallnord area shows a riding location, rather than today’s trail condition. Tell the rental shop your actual experience and intended route: a downhill bike does not make a beginner ready for a difficult line. Appropriate rental, instruction and time to become familiar with the bike make a sensible first-day combination.
Protection and your personal pack
A cycling helmet should suit the discipline, sit securely and have its retention correctly adjusted. For downhill riding, agree on full-face helmet, knee, elbow and body protection requirements with the park and instructor beforehand. Do not assume a casual riding setup suits every trail. Gloves, eye protection and shoes compatible with the pedals also need to match the activity. Pack water, food, a rain and wind layer, a phone with offline mapping and personal essentials. Remote outings require appropriate communication options and a small emergency reserve. Secure dangling straps: luggage should neither restrict movement nor catch on the bicycle when getting on, stopping or getting off.
What to establish when hiring
Provide your height and other measurements requested by the rental shop; a frame-size label is not a substitute for trying the bike. Confirm its category, pedals, included protection and whether lift access is separate. At collection, staff should adapt the riding position and settings to the intended use, explain the controls and establish what to do after a mechanical problem. Do not accept obvious play, tyre damage or confusing brake behaviour as normal rental characteristics. Check with the mechanic before leaving. Agree on damage responsibility, return time and trail assistance. For an electric bike, discuss the route, battery reserve and charging arrangements: an unexplained range figure is insufficient for planning.
Repair essentials and checking the route
For an independent outing, carry a small repair kit matched to the bicycle and tasks you already know: a compatible puncture solution, pump and appropriate tool. Possession does not replace learning how to use it; on an introductory guided ride, discuss who carries shared equipment. Check the permitted trail map, lift availability and forecast before departure. Barriers and staff instructions take priority on site. A recorded GPS track does not establish permission to ride private land or pedestrian paths. Allow a margin if your return depends on the final lift. If the bicycle’s condition is doubtful, stop somewhere appropriate and contact the rental shop instead of continuing a difficult descent to meet a timetable.
What good equipment cannot solve
Do not choose difficulty according to how substantial your protection looks or because friends are riding a line. Approach new obstacles through instruction, rather than trusting a bicycle advertised as capable of everything. Avoid experimenting with a rental bike’s suspension, brakes or battery without agreement. Do not use headphones that prevent hearing other riders and instructions. After a fall, report the bicycle and helmet’s condition to staff; no visible crack does not automatically clear impacted protection for continued use. Afterwards, inspect personal equipment and dry it according to instructions. Children need bikes and protection that fit now, accessible controls and an appropriate lesson, rather than equipment selected mainly for future growth.
.jpeg)